
Creating Video Thumbnails in Vocal Video
Every video you publish in Vocal Video has a thumbnail: the still image people see before they press play, on your video's page, in embeds and galleries, and wherever you share it (some tools also refer to this image as a "poster").
To create your thumbnail image, you can pick a frame from your video or upload your own image, then add text on top.
In this article:
- Open Thumbnail Settings
- Choose the image
- Add text
- Filter, background, colors and fonts
- After you publish
- How Vocal Video customers are embedding their videos onto their websites
Open Thumbnail Settings
Open your video in the editor and click Thumbnail at the top of the scene list. The Thumbnail Settings panel opens on the right, and the preview shows your thumbnail the way viewers will see it.
💡Tip: you can also open the Thumbnail Settings panel simply by clicking on the video preview when the thumbnail is showing — clicking any scene in the video preview opens that scene's settings panel, and the thumbnail is no different.

Choose the image
By default, your thumbnail uses a frame from the middle of the first video clip in your video. That frame can catch the speaker mid-word, so it's worth picking one yourself. In the Image section, click one of these:
- Select Frame: shows 10 frames taken from across each video clip in your video. Click the one you want.
- Upload: use your own PNG or JPEG image. For a sharp result, make it the same shape as your video and at least as large, for example 1920x1080 for a horizontal video. The upload window shows the suggested size for yours. See How to Change Video Format.

If the image is a different shape from your video, drag the highlighted box in the Image section to choose which part shows. To remove the image, click the trash icon.
Add text
Open Text Fields and choose a Style:
- Headline: large text over the image.
- Card: text on a card, styled like the name tags in your video.
- None: the image on its own.
Under Display, click the eye icons to show or hide each line: the Teaser (small text above the headline), the Headline, and the Body (small text below it).
To change the words, click the text in the preview, then click Edit (or press Enter) and type. The same toolbar changes the line's Font and Color, or Deletes it.

Filter, background, colors and fonts
The rest of Thumbnail Settings fine-tunes the look:
- Filter: applies a filter to your thumbnail image. It appears once you've chosen an image.
- Background: what shows behind the image when it doesn't fill the frame. That happens when Layout is set to Shrink to Fit and the image is a different shape, when a background effect has removed the background behind your speaker, or when the thumbnail has no image. Choose a preset or upload your own.
- Colors: opens the Design panel at the thumbnail's own Background, Text and Accents colors.
- Fonts: opens the Design panel's fonts. These are shared with the rest of your video: a Headline thumbnail uses your Teaser, Headline and Body fonts, and a Card uses your speaker name fonts.
- Corner Logo: appears when your video has a corner logo. Turn on Show in Video Thumbnail to put it on the thumbnail too.
After you publish
Your thumbnail is part of your published video. Once you publish, you're ready to share and embed it with your new thumbnail. To change the thumbnail later, edit the video and republish it: see How to Edit Thumbnails in Published Videos.
How Vocal Video customers are embedding their videos onto their websites
Hone pairs a card embed with their G2 reviews.

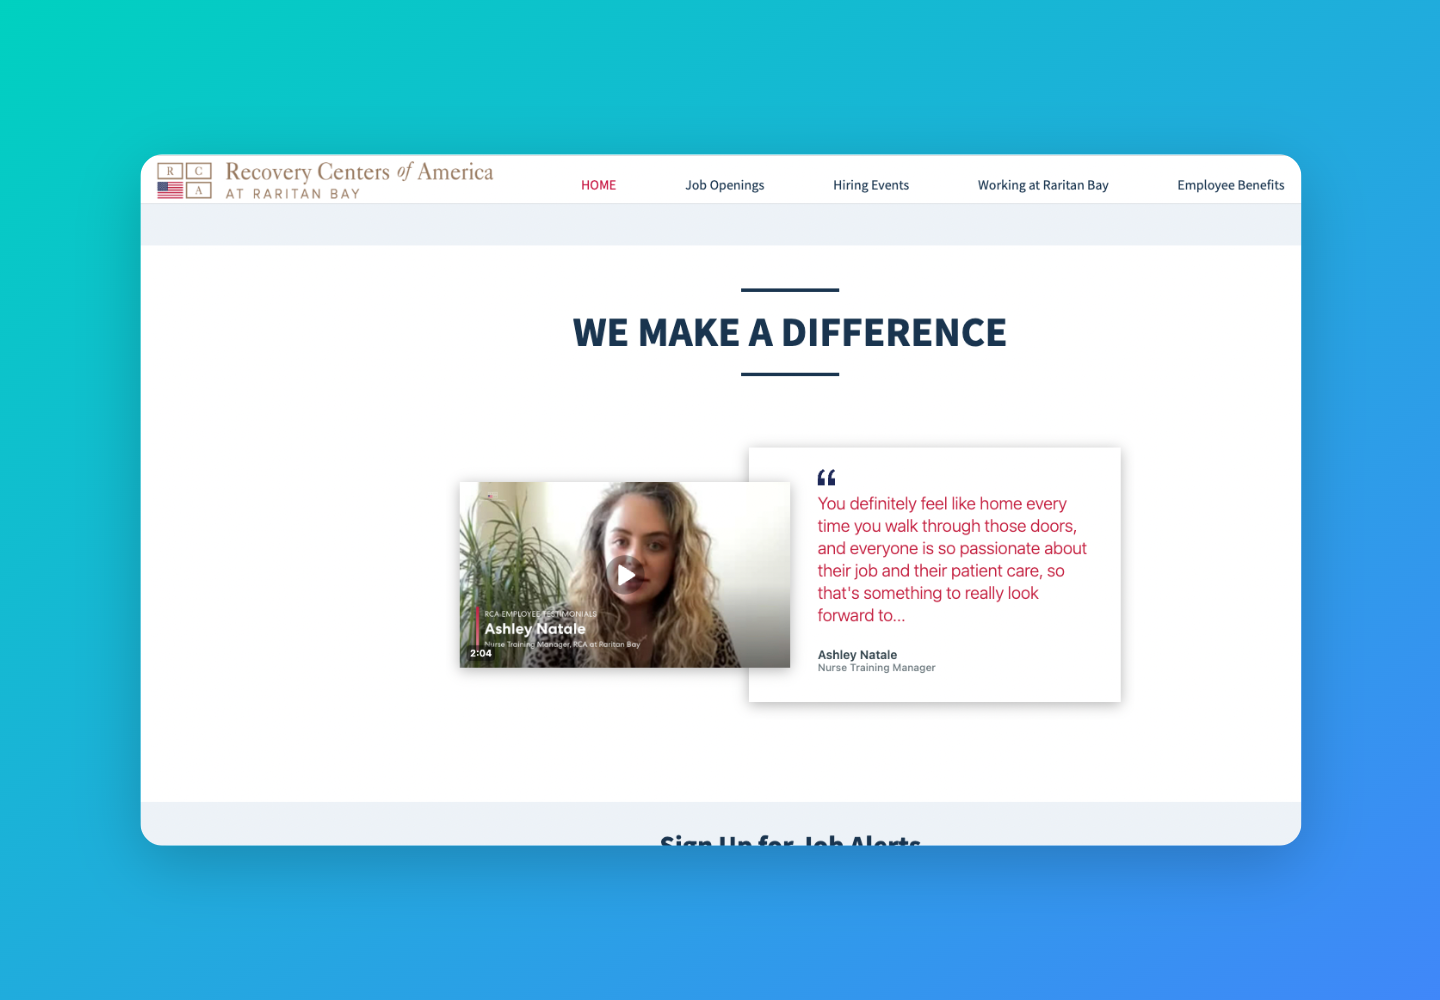
Recovery Centers of America uses a card embed to display an employee testimonial.
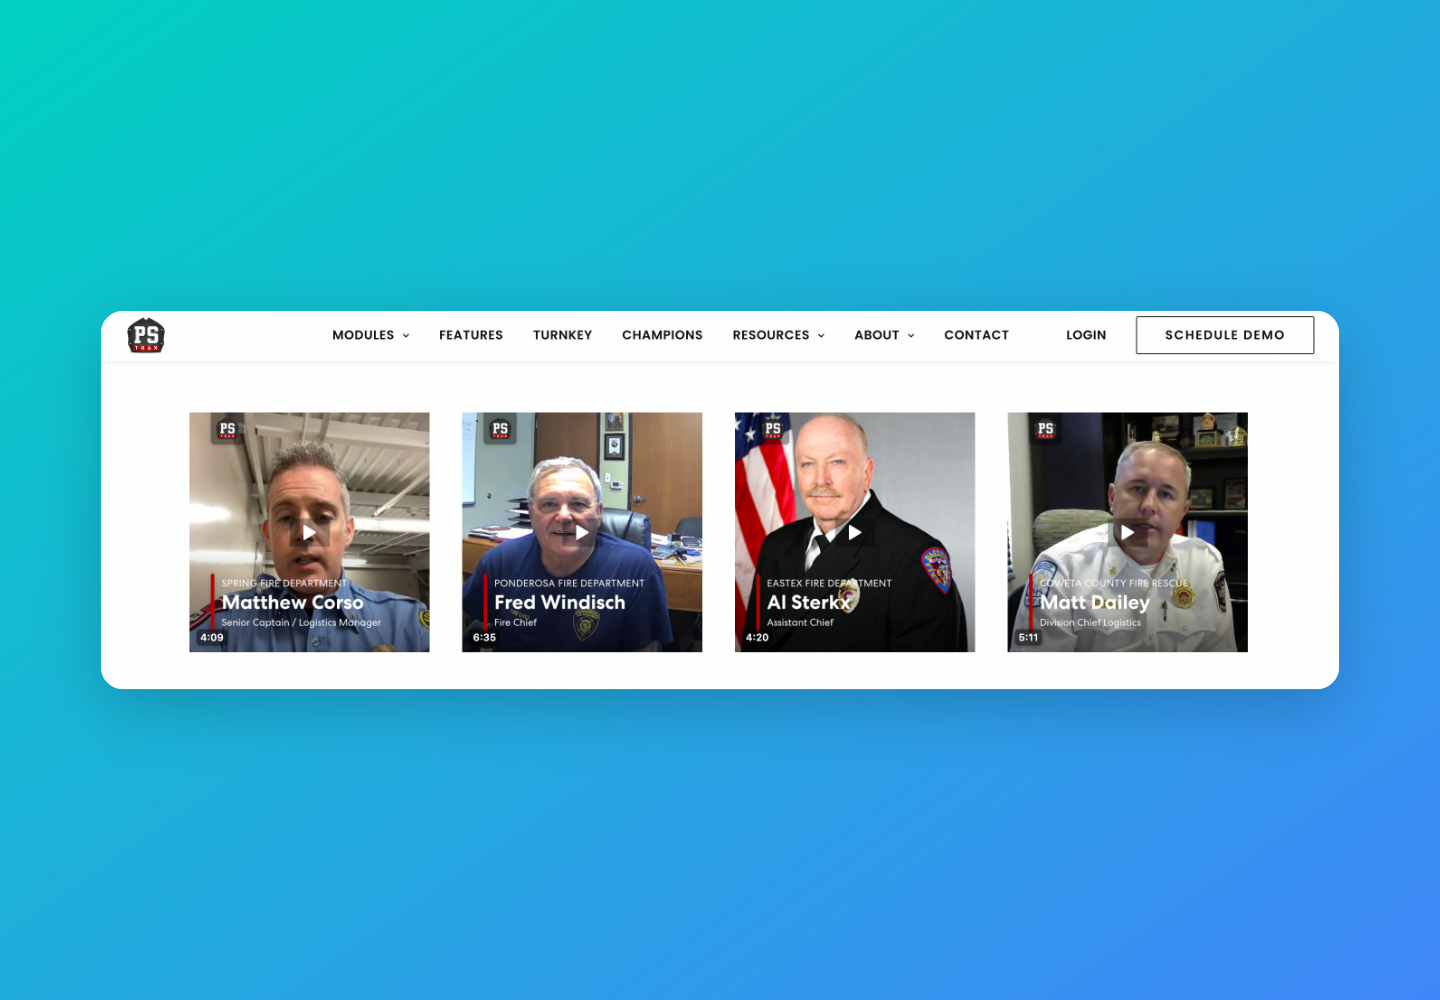
PS Trax displays a gallery of happy customers alongside a link to schedule a demo.
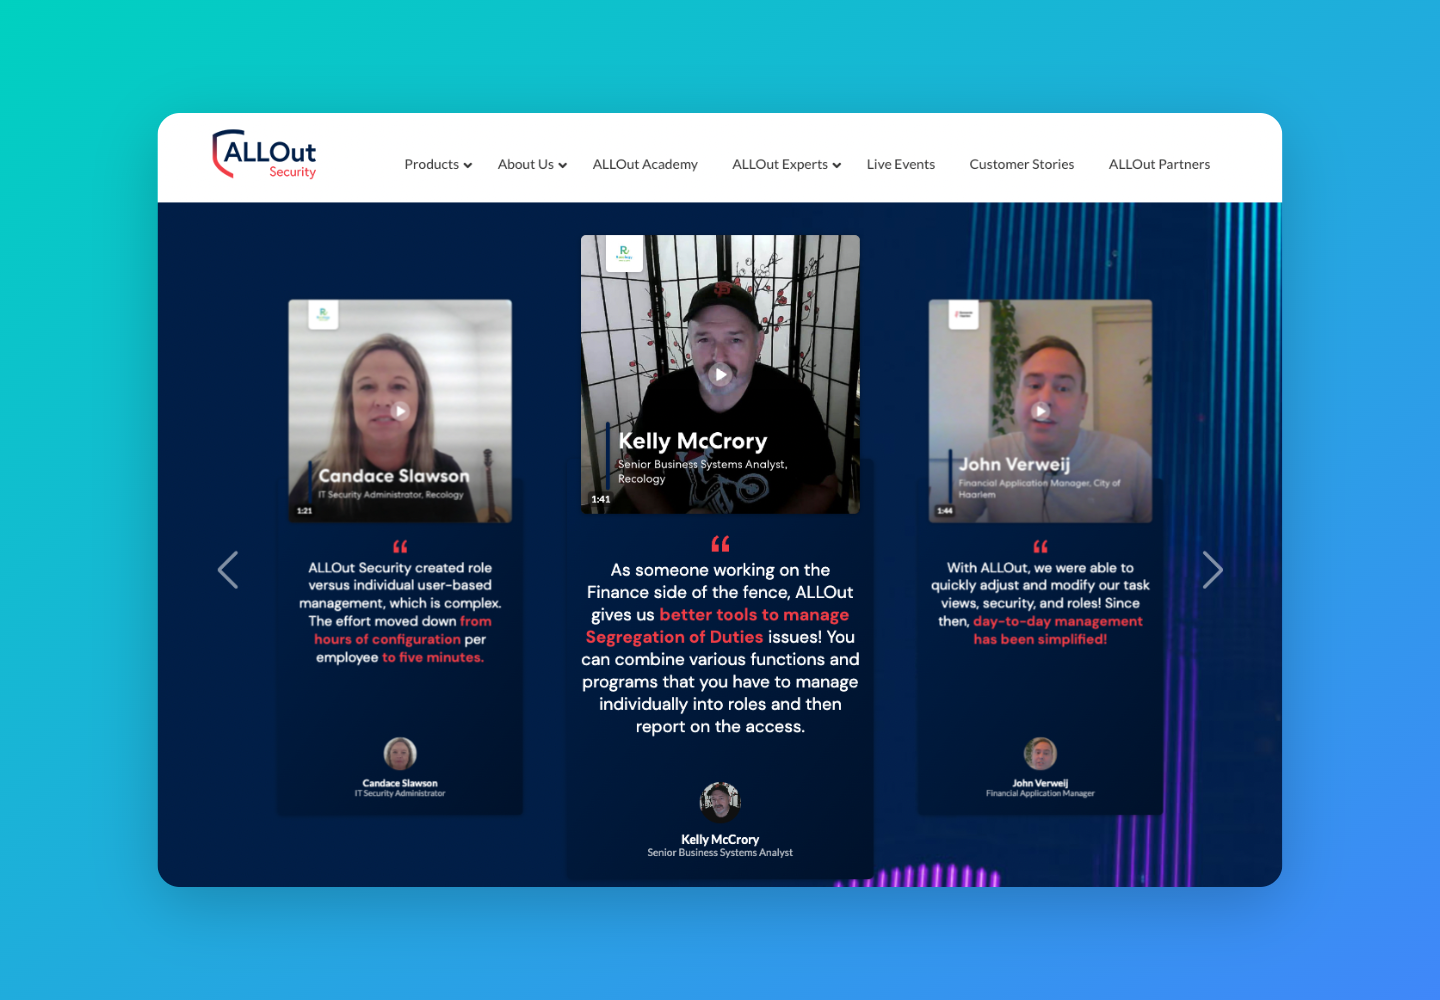
All Out Security embeds a carousel Gallery of their latest testimonials, highlighting praise from their top customers.
For more information see:
Still need help? Contact Support at support@vocalvideo.com