How to Adjust Audio Settings
Want your videos to sound their best? This guide covers managing your music volume, the volume of individual scenes, and enhancing speech with Studio Sound.
Adjusting Music Volume
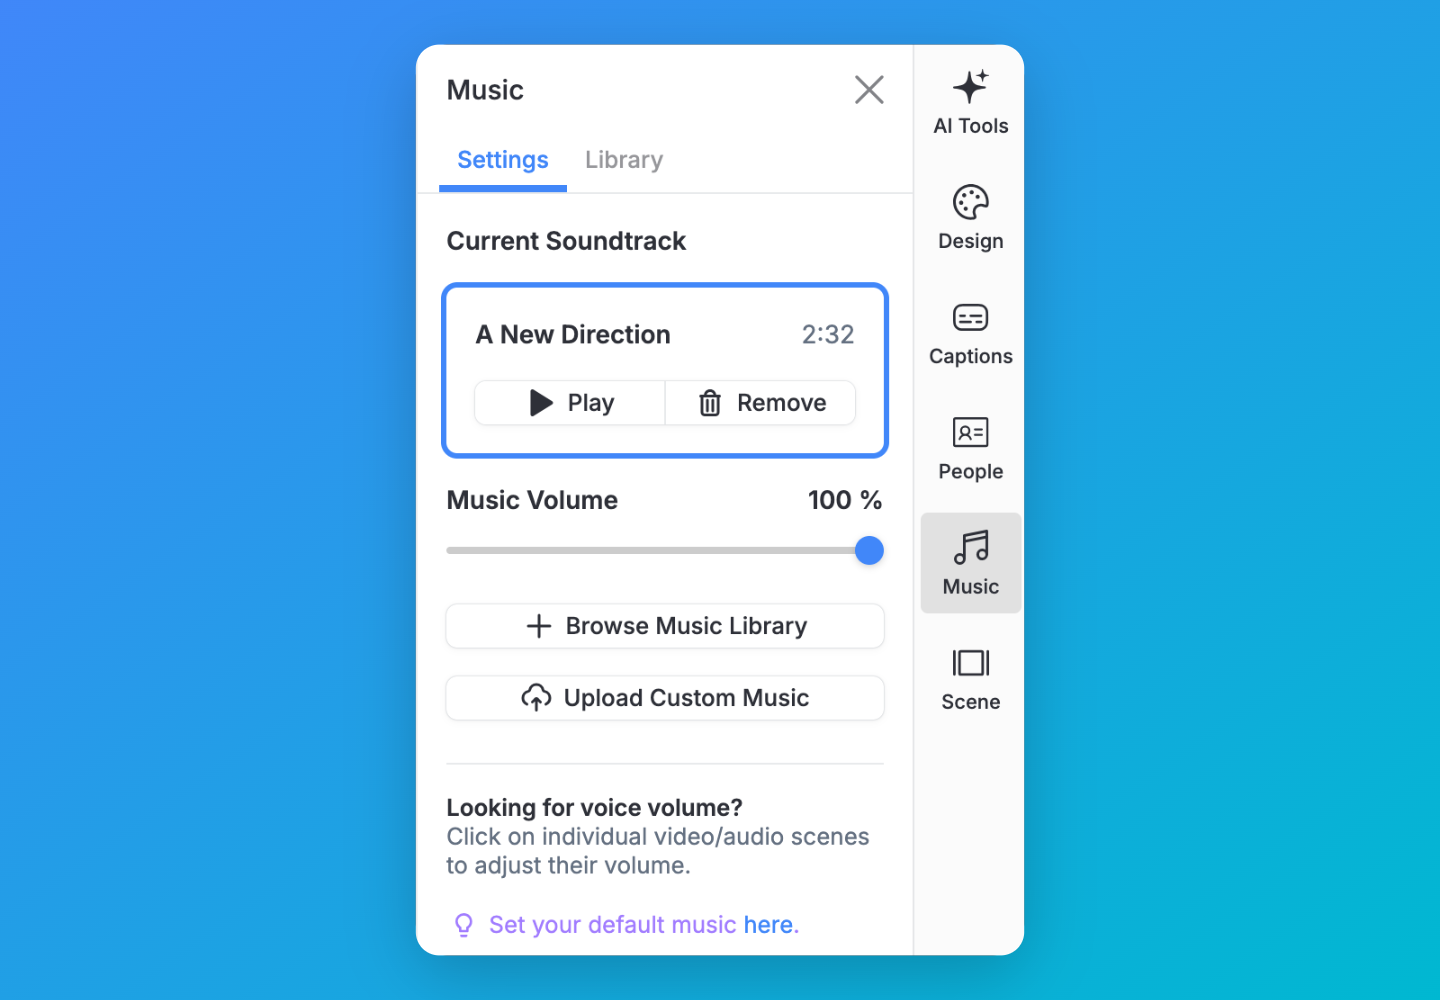
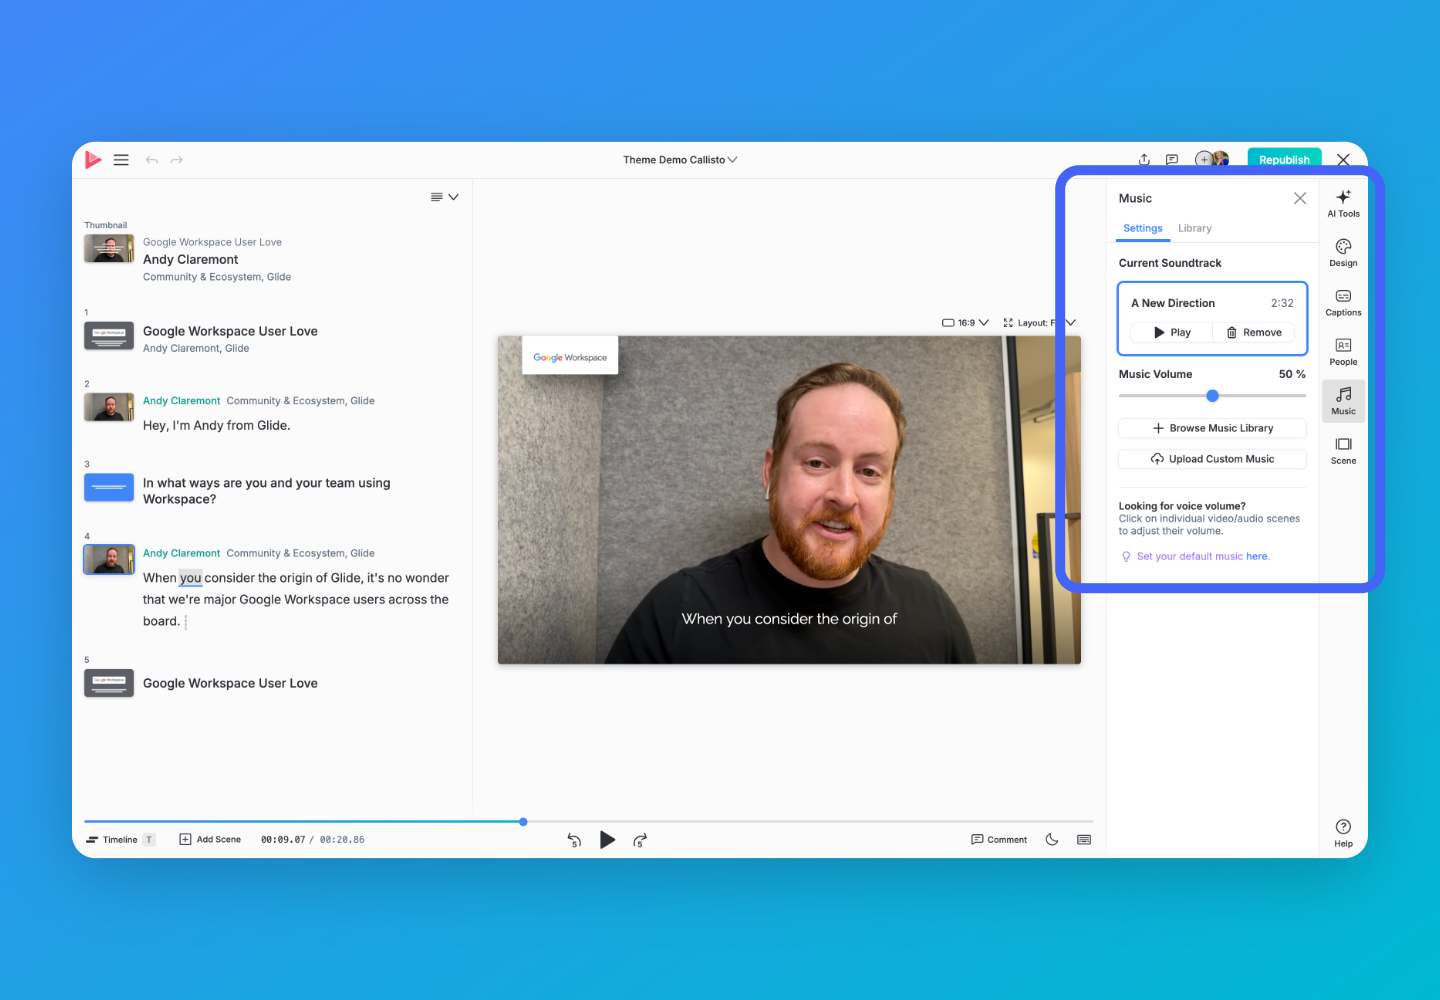
To adjust your video's music volume, click the Music button on the bottom right side of the Vocal Video editor (click here and then click on the video you want to edit) to open the Music settings sidebar. Here you can preview the different music options and set the volume for the music by clicking on the audio image and adjusting the volume slider.
If you want to use the same music in all your videos, or set a consistent music volume, you can do that on your Default Video Settings page.
Fading Out Music at the End of Videos
Odds are, your chosen music won't last the exact same time as your video. To prevent your music sounding as if it's cut off right at the end, Vocal Video automatically fades your music out during the last 5 seconds of every video. This happens on its own — there's no setting to turn it on or off.
Note: Music fade-out is a post-processing step that's done when you publish your video, so it's not something you can hear within the Vocal Video editor.
Enhancing Speech with Studio Sound
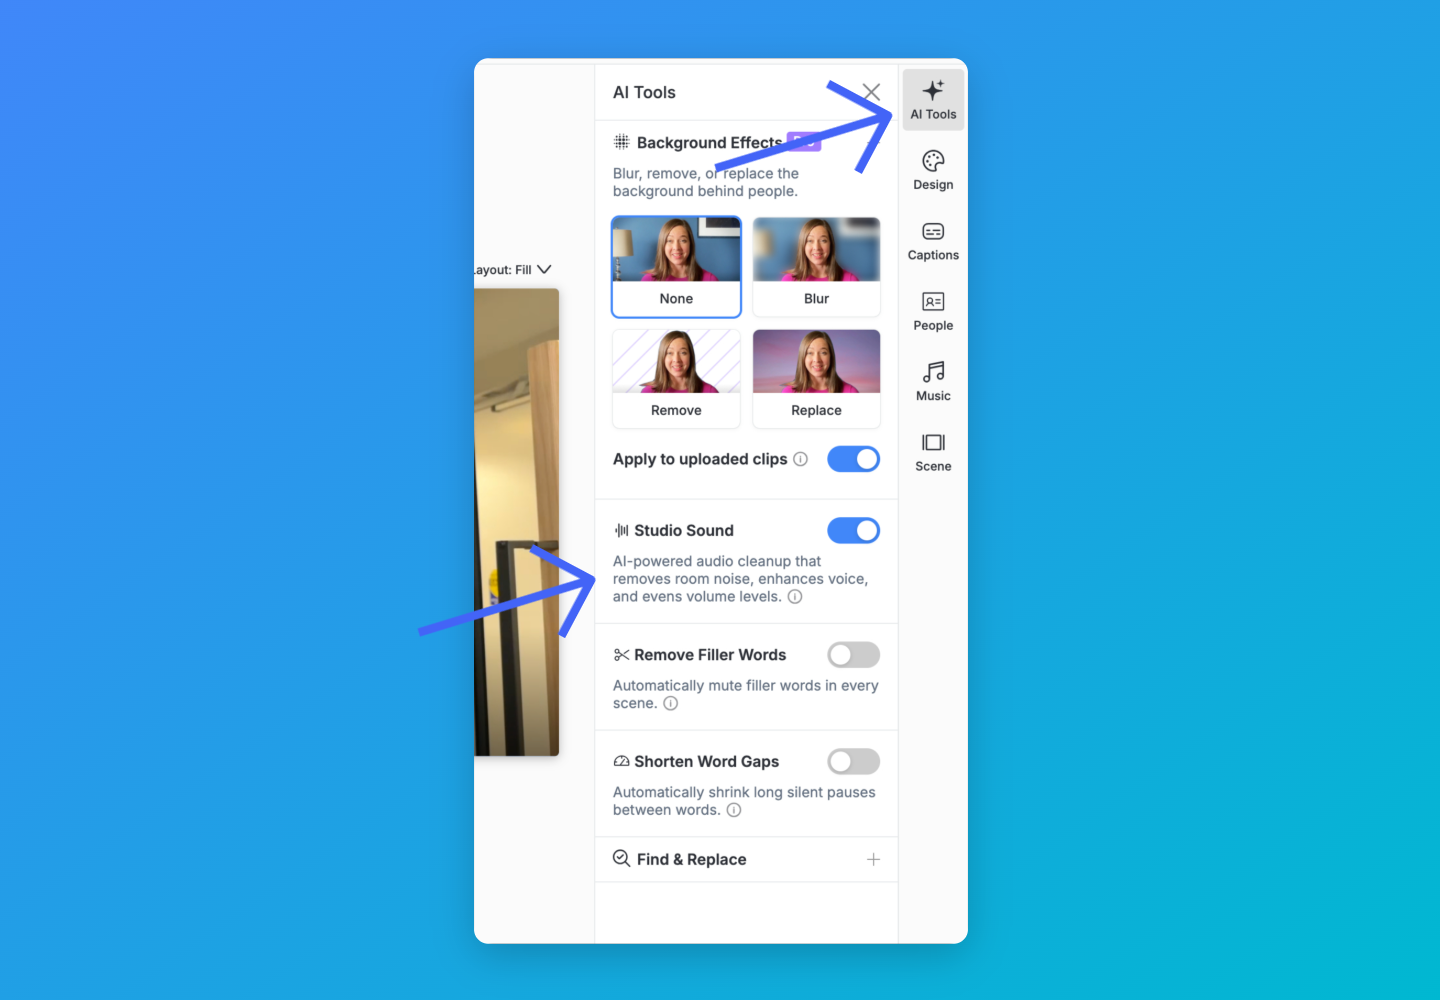
Studio Sound is Vocal Video's AI-powered audio cleanup. When it's on, it reduces background room noise, enhances voice clarity, and evens out volume levels — both within a clip and between your different speakers and scenes. You'll find it in the AI Tools panel on the right side of the editor, and it's on by default. Learn more about Studio Sound.
Adjusting Volume on Individual Scenes
You can adjust the volume of your individual Video & Audio scenes in the Vocal Video editor. Just click on the scene to open its sidebar panel, and use the volume slider. You can hear and preview these volume changes while you edit.
Note: if you have Studio Sound enabled (the default), we recommend leaving each scene's volume at 100%. Studio Sound automatically balances clip volumes for you, so manual adjustments generally aren't needed — and can work against it.